Cleaning Tips
Spring Cleaning Checklist for St. Louis Homes
Work from high surfaces to floors, tackle tracked-in dirt, and choose safe methods for windows and delicate finishes with this practical seasonal reset.
Start Here: Spring Cleaning Checklist for St. Louis Homes
The most useful spring cleaning checklist for St. Louis homes starts with clearing access, removing dust from high surfaces, cleaning touchpoints and fixtures, and finishing with floors. Prioritize entryways, window tracks, kitchen grease, and bathroom buildup rather than emptying every closet at once. That order keeps falling dust and tracked-in grit from undoing your work.
Begin with a walkthrough and choose three priorities: one place that brings dirt indoors, one room with stubborn buildup, and one overlooked surface. In a brick home with a busy side entrance, that might mean the back-door threshold, kitchen cabinet fronts, and bedroom blinds. Finish these before expanding the project.
Gather microfiber cloths, a vacuum with suitable attachments, a mop, a bucket, gloves appropriate to the products, and cleaners matched to your surfaces. Keep separate cloths for bathrooms and kitchens. Set aside a basket for misplaced belongings so tidying does not become a room-to-room detour.
Make a Safe Plan Before Opening Every Cabinet
Divide the work into manageable zones, with a clear stopping point for each. A bathroom is finished when fixtures, touchpoints, and the floor are clean; reorganizing the linen closet can be a separate task. Leave a usable path through the home and avoid spreading belongings across stairs or doorways.
Read product directions before starting. Never mix cleaners, including bleach with ammonia or acidic products. Follow ventilation instructions, keep products away from children and pets, and test unfamiliar products on an inconspicuous area. Use a stable step stool instead of standing on furniture.
Check surface-care instructions, especially for stone, coated glass, wood, and specialty finishes. Avoid acids on marble; vinegar is not a universal cleaner. If you cannot identify a countertop or floor finish, pause and check with its manufacturer or installer rather than experimenting with a strong cleaner.
Routine dust and dirt removal usually calls for cleaning, not automatic disinfection. CDC guidance emphasizes cleaning before disinfection and using disinfection when appropriate. When using an EPA-registered disinfectant, keep the surface visibly wet for the full contact time on its label, following all other directions.
Explore our cleaning tips service and cleaning in St. Louis, MO for property-specific information.
Follow a High-to-Low Route Through Each Room
Start with accessible ceiling corners, then move to light fixtures, shelves, furniture, baseboards, and floors. Turn fixtures off and let them cool before cleaning. For ceiling fans, switch the fan off and use a tool that captures dust rather than scattering it. Avoid reaching beyond stable footing.
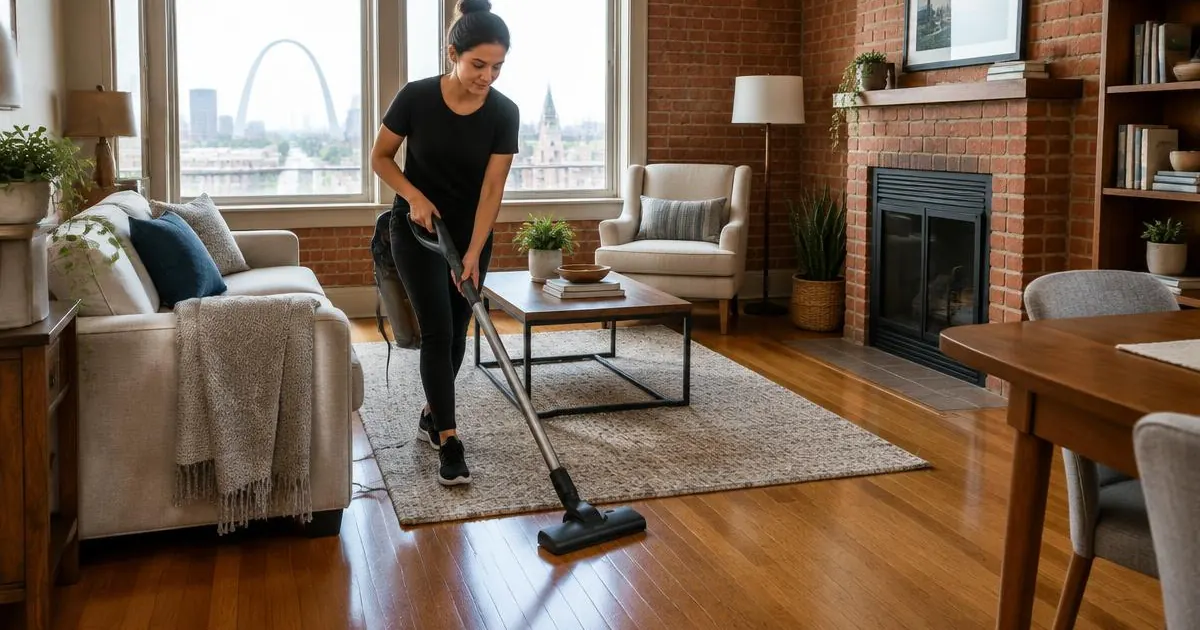
Vacuum upholstery using the attachment and setting recommended for the fabric. Check care labels before applying moisture or stain treatments. Lift removable cushions, collect loose objects, and vacuum seams. Do not assume a sofa cover is washable simply because it has a zipper.
Dust electronics with manufacturer-approved methods and avoid spraying liquid directly onto screens, outlets, or controls. Remove objects from one shelf at a time, clean beneath them, and return only what belongs. Finish baseboards before vacuuming floors; mop compatible hard flooring last, without leaving standing water.
Reset Entryways Before Dirt Travels Farther
St. Louis spring weather can bring wet shoes, muddy pet paws, and pollen into the same entrance. Concentrate on the door your household actually uses, even if it is a side or garage entrance rather than the front door. Remove footwear, bags, and mats before cleaning.
Vacuum dry grit from corners and thresholds first. Clean the door handle and nearby trim with a finish-safe product, then wash the floor according to its care instructions. Clean mats as their labels allow and let them dry fully before replacing them. Check beneath rubber-backed mats for trapped moisture.
Create a simple landing area: a shoe tray, a washable mat where suitable, and a reachable towel for wet paws. If dirt keeps appearing down the hallway, improve this collection point before increasing whole-house mopping. Keep shoes and storage baskets clear of the door’s swing and walking path.
Clean Windows Without Damaging Glass or Trim
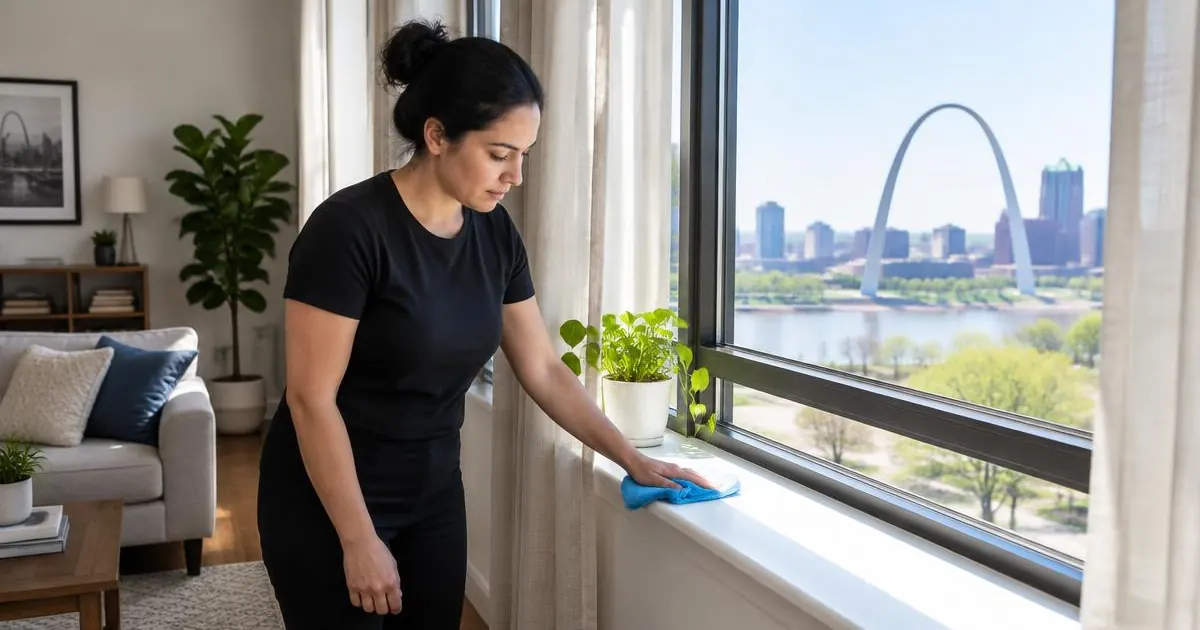
Window cleaning works best after nearby dusting and before the final floor pass. Choose a time when direct sun is not heating the glass, since fast drying can make streaks harder to remove. Clear the sill and protect nearby furnishings from drips.
Clean Tracks and Frames Before Glass
Vacuum loose debris from accessible tracks with a soft attachment. Wipe remaining dirt with a lightly damp cloth and a product suitable for the frame material. Avoid flooding tracks or soaking wood trim. Use gentle tools rather than metal scrapers that could damage finishes or seals.
Apply a glass-safe cleaner according to its directions, keeping excess liquid away from surrounding wood and hardware. For coated or specialty glass, follow the manufacturer’s instructions. Persistent cloudiness between panes may indicate a window issue that surface cleaning cannot resolve.
Keep Access Within Safe Limits
Clean only what you can reach safely from stable footing. Do not lean out of windows, stand on a sill, or improvise exterior access. Remove screens only when you know how to release and reinstall them without force.
If older painted frames are flaking, avoid scraping or sanding during routine cleaning. Suspected lead-containing paint needs appropriate assessment and specialist handling. Stop rather than turning loose paint into dust.
Give Kitchens and Bathrooms Focused Attention
In the kitchen, start with cabinet fronts and the backsplash before moving to counters and the sink. Remove loose crumbs first, then use a finish-appropriate cleaner for greasy residue. Give the product any label-directed working time instead of scrubbing harder with an abrasive pad.
For refrigerator cleaning, arrange suitable cold storage before removing food. Follow appliance instructions for shelves and drawers, and avoid exposing cold glass components to sudden temperature changes. Use the oven manufacturer’s cleaning method; do not combine cleaning chemicals with a self-cleaning cycle unless expressly permitted.
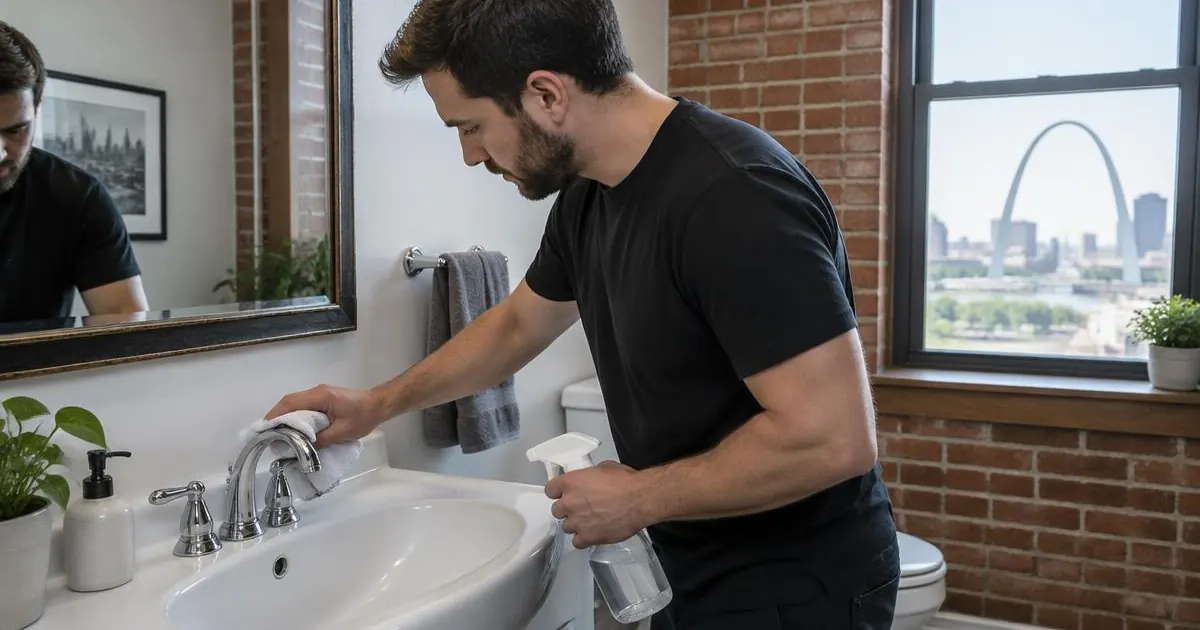
In bathrooms, remove loose hair and dust before wet cleaning. Clean mirrors, counters, fixtures, and shower surfaces, leaving the toilet and floor until later. Use dedicated toilet cloths. Check whether shower walls are stone before choosing a mineral-deposit remover, since acidic formulas can damage marble.
If a shower corner repeatedly stays wet or staining returns, look for a ventilation, caulking, or plumbing issue rather than repeatedly applying stronger products. Cleaning cannot repair a leak. Follow care instructions for washable shower curtains and bath mats, and dry them thoroughly before returning them.
Choose Professional Help Around the Actual Scope
Consider a deep clean when detailed work across several rooms exceeds what you want to handle yourself. Before requesting a quote, identify priorities and extras: greasy cabinet fronts are different from cabinet interiors, and wiping an appliance exterior is different from cleaning inside it.
For Prime Cleaning MO LLC in the St. Louis metro, a standard or recurring-service quote includes the required initial deep clean. Standard or recurring cleaning is available only after that initial deep clean; it is not offered as a one-time service or for first-time clients. For deep cleaning, appliance interiors and inside cabinets are optional add-ons.
Interior window cleaning is also an add-on for residential services, so request it explicitly rather than assuming it is included. Describe window access, delicate finishes, and areas with substantial buildup when discussing the scope. Detailed cleaning may take more than one day; plan around the agreed work rather than assuming a fixed completion time.
Keep the Reset From Becoming Another Big Project
After the reset, assign small tasks to the places that need them most. Empty the shoe tray when grit collects, wipe kitchen splashes before they harden, and vacuum busy routes before dirt spreads. Keep a separate note for slower projects such as closet sorting.
Use visible conditions to adjust your routine. If windowsills collect fresh pollen, revisit those accessible surfaces; if a guest room remains undisturbed, focus elsewhere. This preserves the work without repeating the entire spring checklist.
By Prime Cleaning MO Team.